

Exploding, Twisting Tex - Tutorial
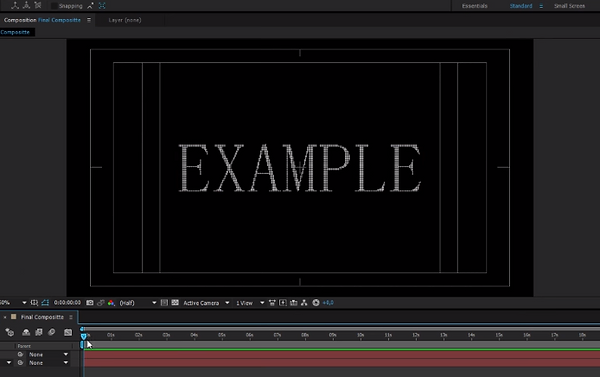
Start with creating a new black solid. This will be our background. Then create a new text. You can type in whatever you want. Scale and position your text to your likings. Also set the anchor point to the middle by using the pan from behind tool.

Apply CC Ball Action to your text. Set the grid spacing to 1 and ball size to 66. Scale up your textso you can see it clearly.

Set your Time Indicator to 1 second. Then add keyframes for the Shatter, Twist Angle and Ball Size. Set the twist property to Diamond. Jump forwards 2 seconds and set the Twist Angle to 4x. Go to the 2 second mark and add a keyframe for the Ball Size. Then go to the 4 second mark and set the Ball Size to 30. Go to the 2 second mark and add a keyframe for the Scatter. Then go to the 4 second mark and set the scatter to 100. Then go to the start of your composition and set a keyframe for the Scatter. Then go to the next Scatter-keyframe and set it to 1,1. Go to the 2 second mark and set the Scatter to 1,1. Then take the first Twist Angle keyframe and hit F9 to make it smooth. Go to the 4 second mark and set the Twist Angle to 4x180. Also select the keyframe before it and hit F9. Go to the 4 second mark and drag the Ball Size keyframe with 30 to the 3 second mark. Then go to the 4 second mark and set the Ball Size to 0.
To create the nice color apply the 4-color gradient to the text layer. Make shure to put it before the CC Ball Action Effect. Apply the same effect on the background layer. Then make all 4 colors to be a desaturated blue.
To create the nice color apply the 4-color gradient to the text layer. Make shure to put it before the CC Ball Action Effect. Apply the same effect on the background layer. Then make all 4 colors to be a desaturated blue.

Create an ellipse mask around it by dobbleclicking on the ellipse-tool. Then set the feather to 300 and expansion to 100. To make the background darker, apply the Curves effect on it and twist it like this.
Create an ellipse mask around it by dobbleclicking on the ellipse-tool. Then set the feather to 300 and expansion to 100. To make the background darker, apply the Curves effect on it and twist it like this.

To create the shadow, start with pre-composing your text. Then duplicate it. Then rename the bottom one to shadow and add a fill effect to it. Make the color black. Add a Fast Blur effect to it and set the bluriness to 25. Go to the 2 second mark and set a keyframe for the opacity on the shadow layer. Then go between the 2 and the 3 second mark and set the opacity to 0.

So thats it. I hope you liked the tutorial. If you wanna take the tutorial offline you can download it by clicking on the button below.
VFXcreate Studios ©
Click here to download the tutorial.